4 Nifty Tips for Repurposing Classroom Junk to Create Unique and Intriguing Fairytale Castles
In this post, I have several nifty tips for repurposing classroom junk to create unique and intriguing fairytale castles. If there’s one thing all teachers can agree on, it’s the fact that our classrooms can become filled with all kinds of extra stuff (AKA junk). Before you decide to toss your junk out, consider using it to create some cool fairytale castles!
Setting Up the Activity
This lesson is amazing paired with works of children's literature focusing on fairytales or castles. It can also be paired with historical and architectural images of castles. I think using it with either of those is appropriate, but doing it with both is most effective.
So, read a fairytale that includes a castle as the setting but don't show any illustrations. Have students picture it in their mind, aka visualize it. Then, look at real photos of castles and talk about what parts are included. Then, have them get to work.
I don't recommend showing them illustrations because they will be tempted to copy those. If they try to copy the actual photos, they will have to use critical thinking to make adjustments.
Fairytale Book Ideas
4 Nifty Tips for Repurposing Classroom Junk to Create Unique and Intriguing Fairytale Castles
Tip #1: Ask your colleagues to save junk for repurposing before you ask the kids to bring in materials.
It is just much easier to manage if you have adults you know bringing you materials. You can also better ensure the materials are appropriate and clean if you ask your fellow teachers to save for you. I always send out an email about 6 weeks ahead of a project like this asking for teachers to save things. I ask them to send only things that they would deem clean and appropriate for their own classrooms.
I remind them they can easily rinse out and wipe off a lot of these materials, but that it is more sanitary for their classroom as well as mine if they do this before they bring it to me. I also give them a list of the types of things we might need depending on the project. For the fairytale castles, I asked for bottles and boxes (like cereal boxes and cracker boxes). I also asked for toilet paper rolls and paper towel rolls. Many of my teacher friends saved things they brought for their own lunches and saved the rolls from their own houses for me.
Tip #2: Place students in groups to work.
This is 100% better if students work together. That way you won't have 31 giant castles in your classroom or have to store the materials for that many different castles. Plus, students get to reap the benefits of collaboration which include working together creatively and problem-solving. They also get to practice communication skills.
Tip #3: Share an open-ended art experience.
Work with your students on this project. Get on the floor with them as they paint the boxes or cover them with paper. Get down there and have conversations about why they are making certain choices or trying to decide where to glue certain things. Have multi-directional conversations. That means you speak to one student and they respond but another student then responds to them and you respond again. Instead of you asking a question and one student answers, you're looking to have a true conversation. Think of it like how a group of adult friends would interact. They will benefit from having a true conversation with an adult and their peers at the same time.
Tip #4: Measure and record data.
This is such a great lesson for having students measure. They can measure each section of what they create (the bridge, the towers, the main section, etc). Have them measure in nonstandard units then again with rulers and yardsticks. Have them use inches and centimeters. Have them round to the nearest inch or centimeter. Have them record their data in whatever format is appropriate for the grade level you are teaching.
Final Thoughts
Keep these tips in mind and utilize them when you notice your junk stash increasing. This art activity can be done at any time of the year, but is especially good at the beginning, before breaks, and at the end of the school year.
I’m Amanda, and I align standards and integrate content to help teachers meet the needs of the Whole Child in art class! I have yet to find a standard that I couldn’t teach through art, and I want to share it all with you.
Not sure where to start with bringing art and content together? This freebie guide is packed with 25 ideas to align your art lessons with math and ELA standards. Your students will be crafting art and practicing algebraic thinking. Win-win!
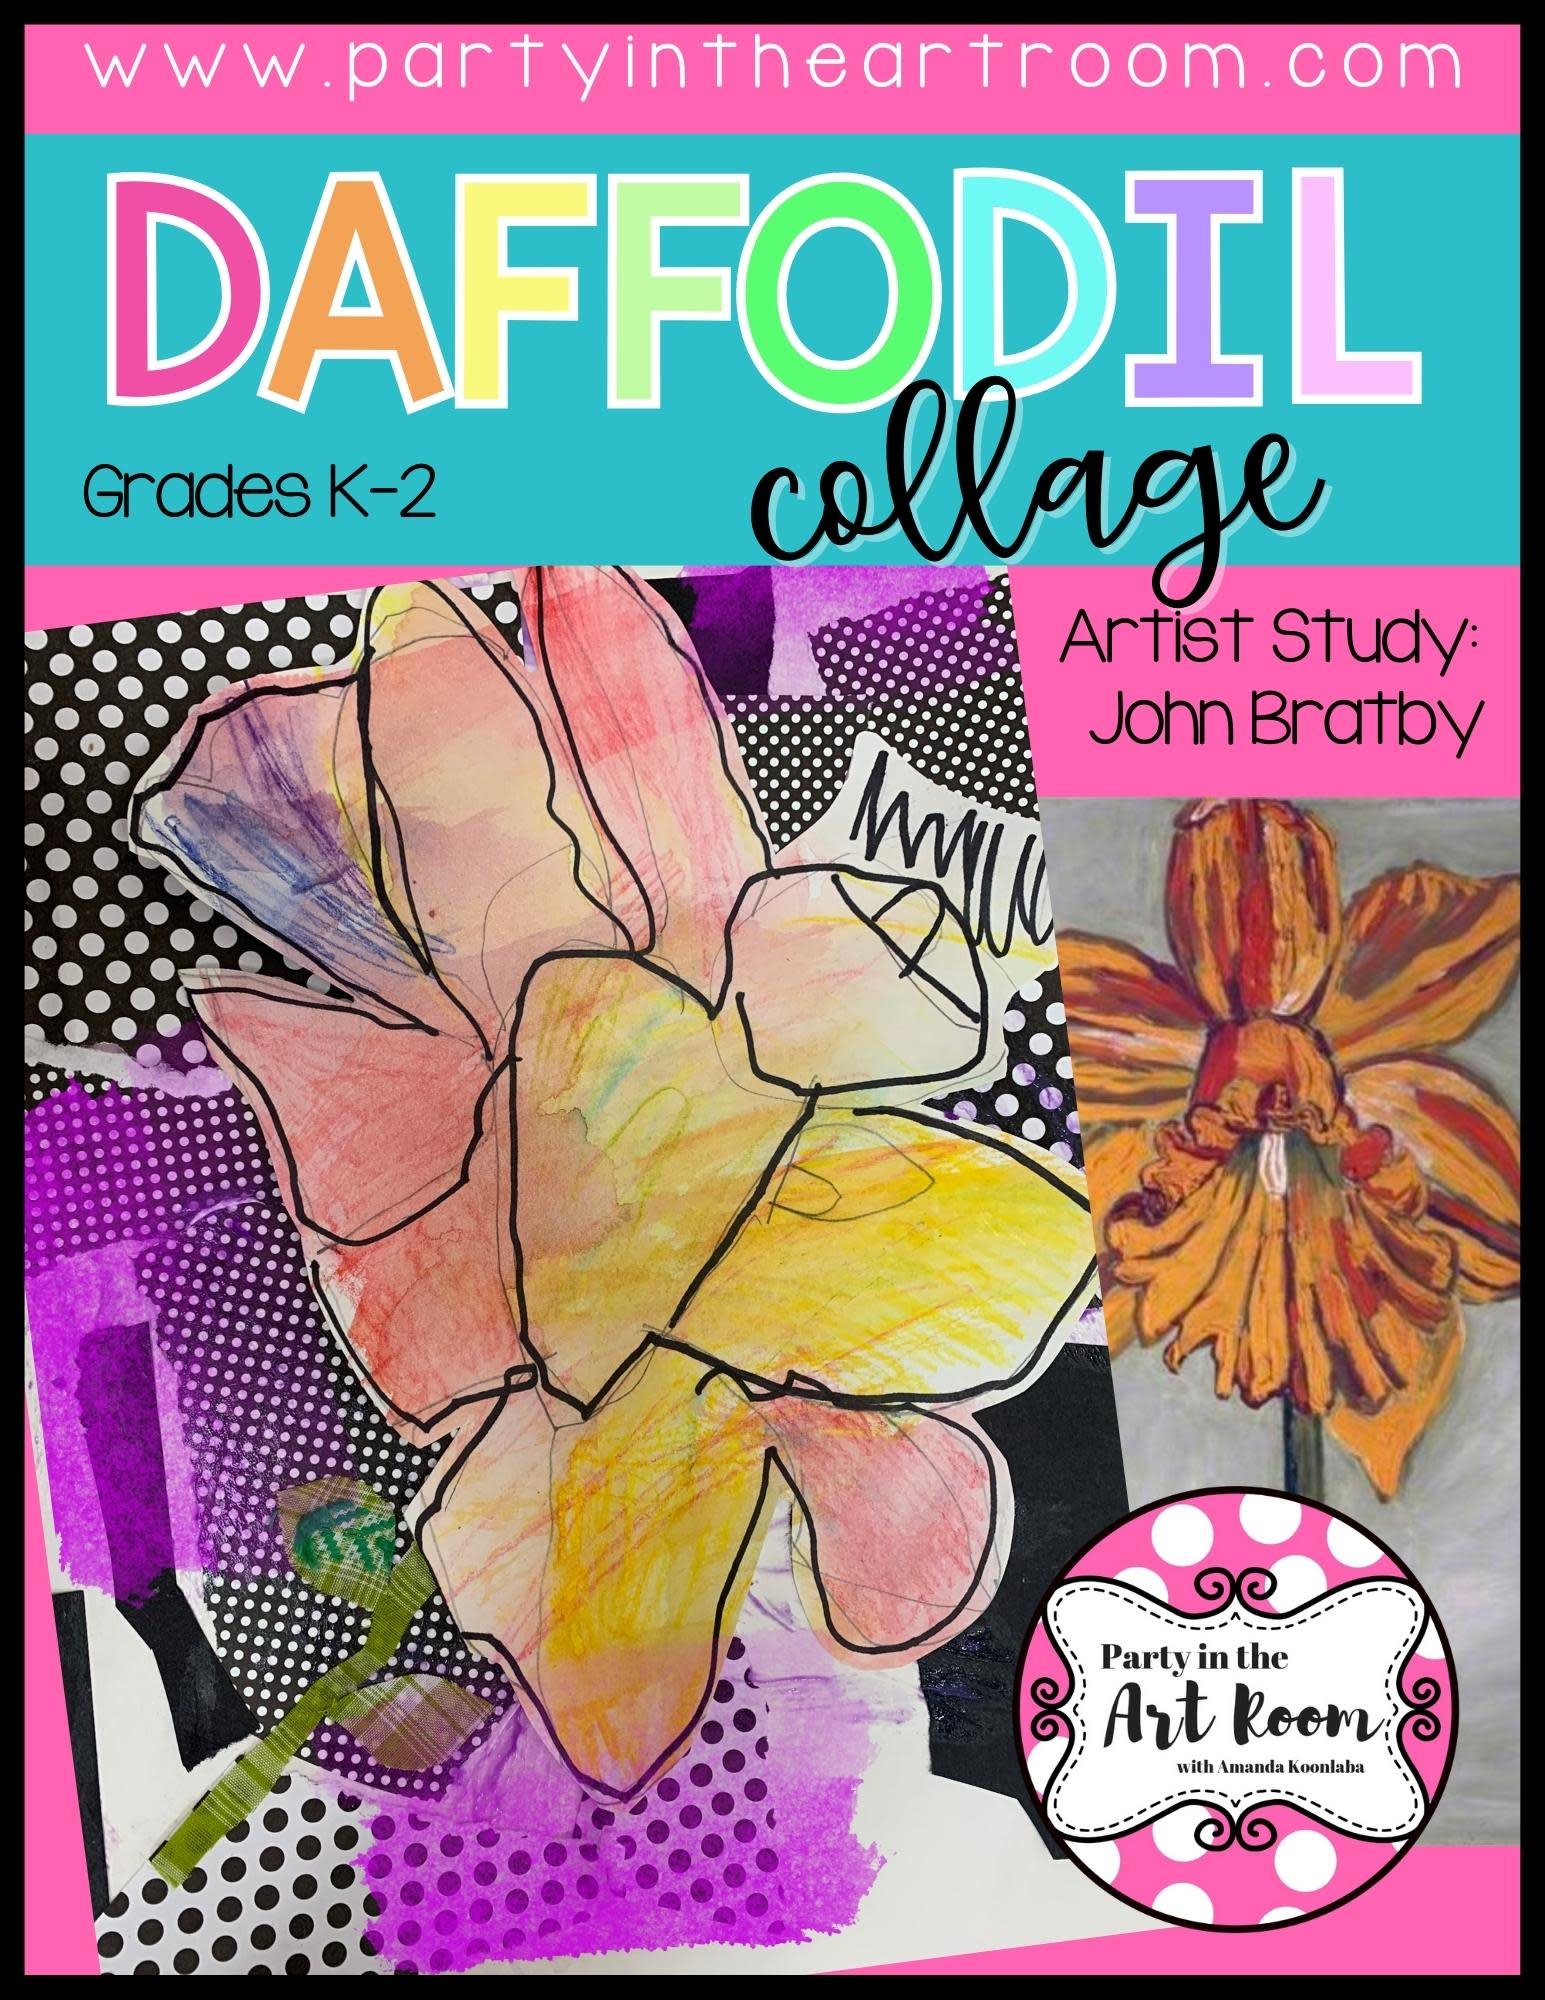
I want all students to feel successful in the art room, so I created a standards-based Daffodil Collage lesson to do just that! The lesson includes an artist study, student reflection, and more, so push your artists to their full potential.
Follow along on my Instagram page for more tips on teaching the Whole Child in the art room!
Connecting art and content together doesn’t have to be mind-boggling. I’ve made it simple with 25 math and ELA art lesson starters - for free! Plus, I included 15 worksheets for students to reflect on their art-making journey.


