Fun and Colorful Yellow Submarine Fabric Art Project for Kids
This fun and colorful yellow submarine fabric art project for kids is the perfect end of the year or summer school activity. Students will get the opportunity to work with a variety of textures and art styles all in one. Keep reading to see how easy it is to do this project with your students!
Fun and Colorful Yellow Submarine Fabric Art Project for Kids
This is so much fun and it works great on pretty much any type of common scrap fabric and especially on white cotton t-shirts.
Step 1
Print out an image of a submarine the size of a sheet of standard copy paper and place it on a clipboard.
Step 2
Insert the clipboard with the printout inside the shirt. You will be able to see the image through the fabric most likely. Look for that to tell where you want the image to show up on the fabric.
Step 3
Pull the fabric tight and use clips to secure it to the clipboard. Have students use permanent markers (I highly recommend using sharpies) to make dots with those markers where the color should go. They should not be drawing any lines. They will work with dots only. They can make a dotted line around the edges and fill in the shapes with dots for color.
Step 4
Once finished making dots, have them use a spray bottle with rubbing alcohol to spritz the fabric 5-10 times. They should be able to pay attention to how wet the shirt is getting and stop before they get to 10 sprays if they need to. This is a hard thing for kids because they think it is fun to spray things with spray bottles, but emphasize how too much will ruin the image and reassure them that if they need more later they can come back to it.
Step 5
Then, let the fabric, still with the clipboard inside, sit for a while...usually takes overnight. When it is mostly dry, take it off the clipboard. It will wash without fading.
Things to Keep in Mind
I do recommend spraying the rubbing alcohol outside. I had a porch outside my art room we used to do this when the weather was cooperating with us). If this is not available to you, make sure students wear masks. Rubbing alcohol can irritate asthma.
Actually, the smell of permanent markers can irritate asthma as well. So, if you know you have students with asthma, ask them to wear a mask when using this art supply.
(This is not legal or medical advice. It is best to have open communication with school officials, students, and their legal guardians who better understand your students' health. Art teachers should ensure they have access to, read, and understand every student's medical action plan.)
Final Thoughts
This is a fun activity that will turn out individually and is unique to each student. It’s also a project that can be used with different images. Simply print out whatever you want the students to do and follow the same directions as laid out above. Don’t hesitate to get ideas from your students as well!
I’m Amanda, and I align standards and integrate content to help teachers meet the needs of the Whole Child in art class! I have yet to find a standard that I couldn’t teach through art, and I want to share it all with you.
Not sure where to start with bringing art and content together? This freebie guide is packed with 25 ideas to align your art lessons with math and ELA standards. Your students will be crafting art and practicing algebraic thinking. Win-win!
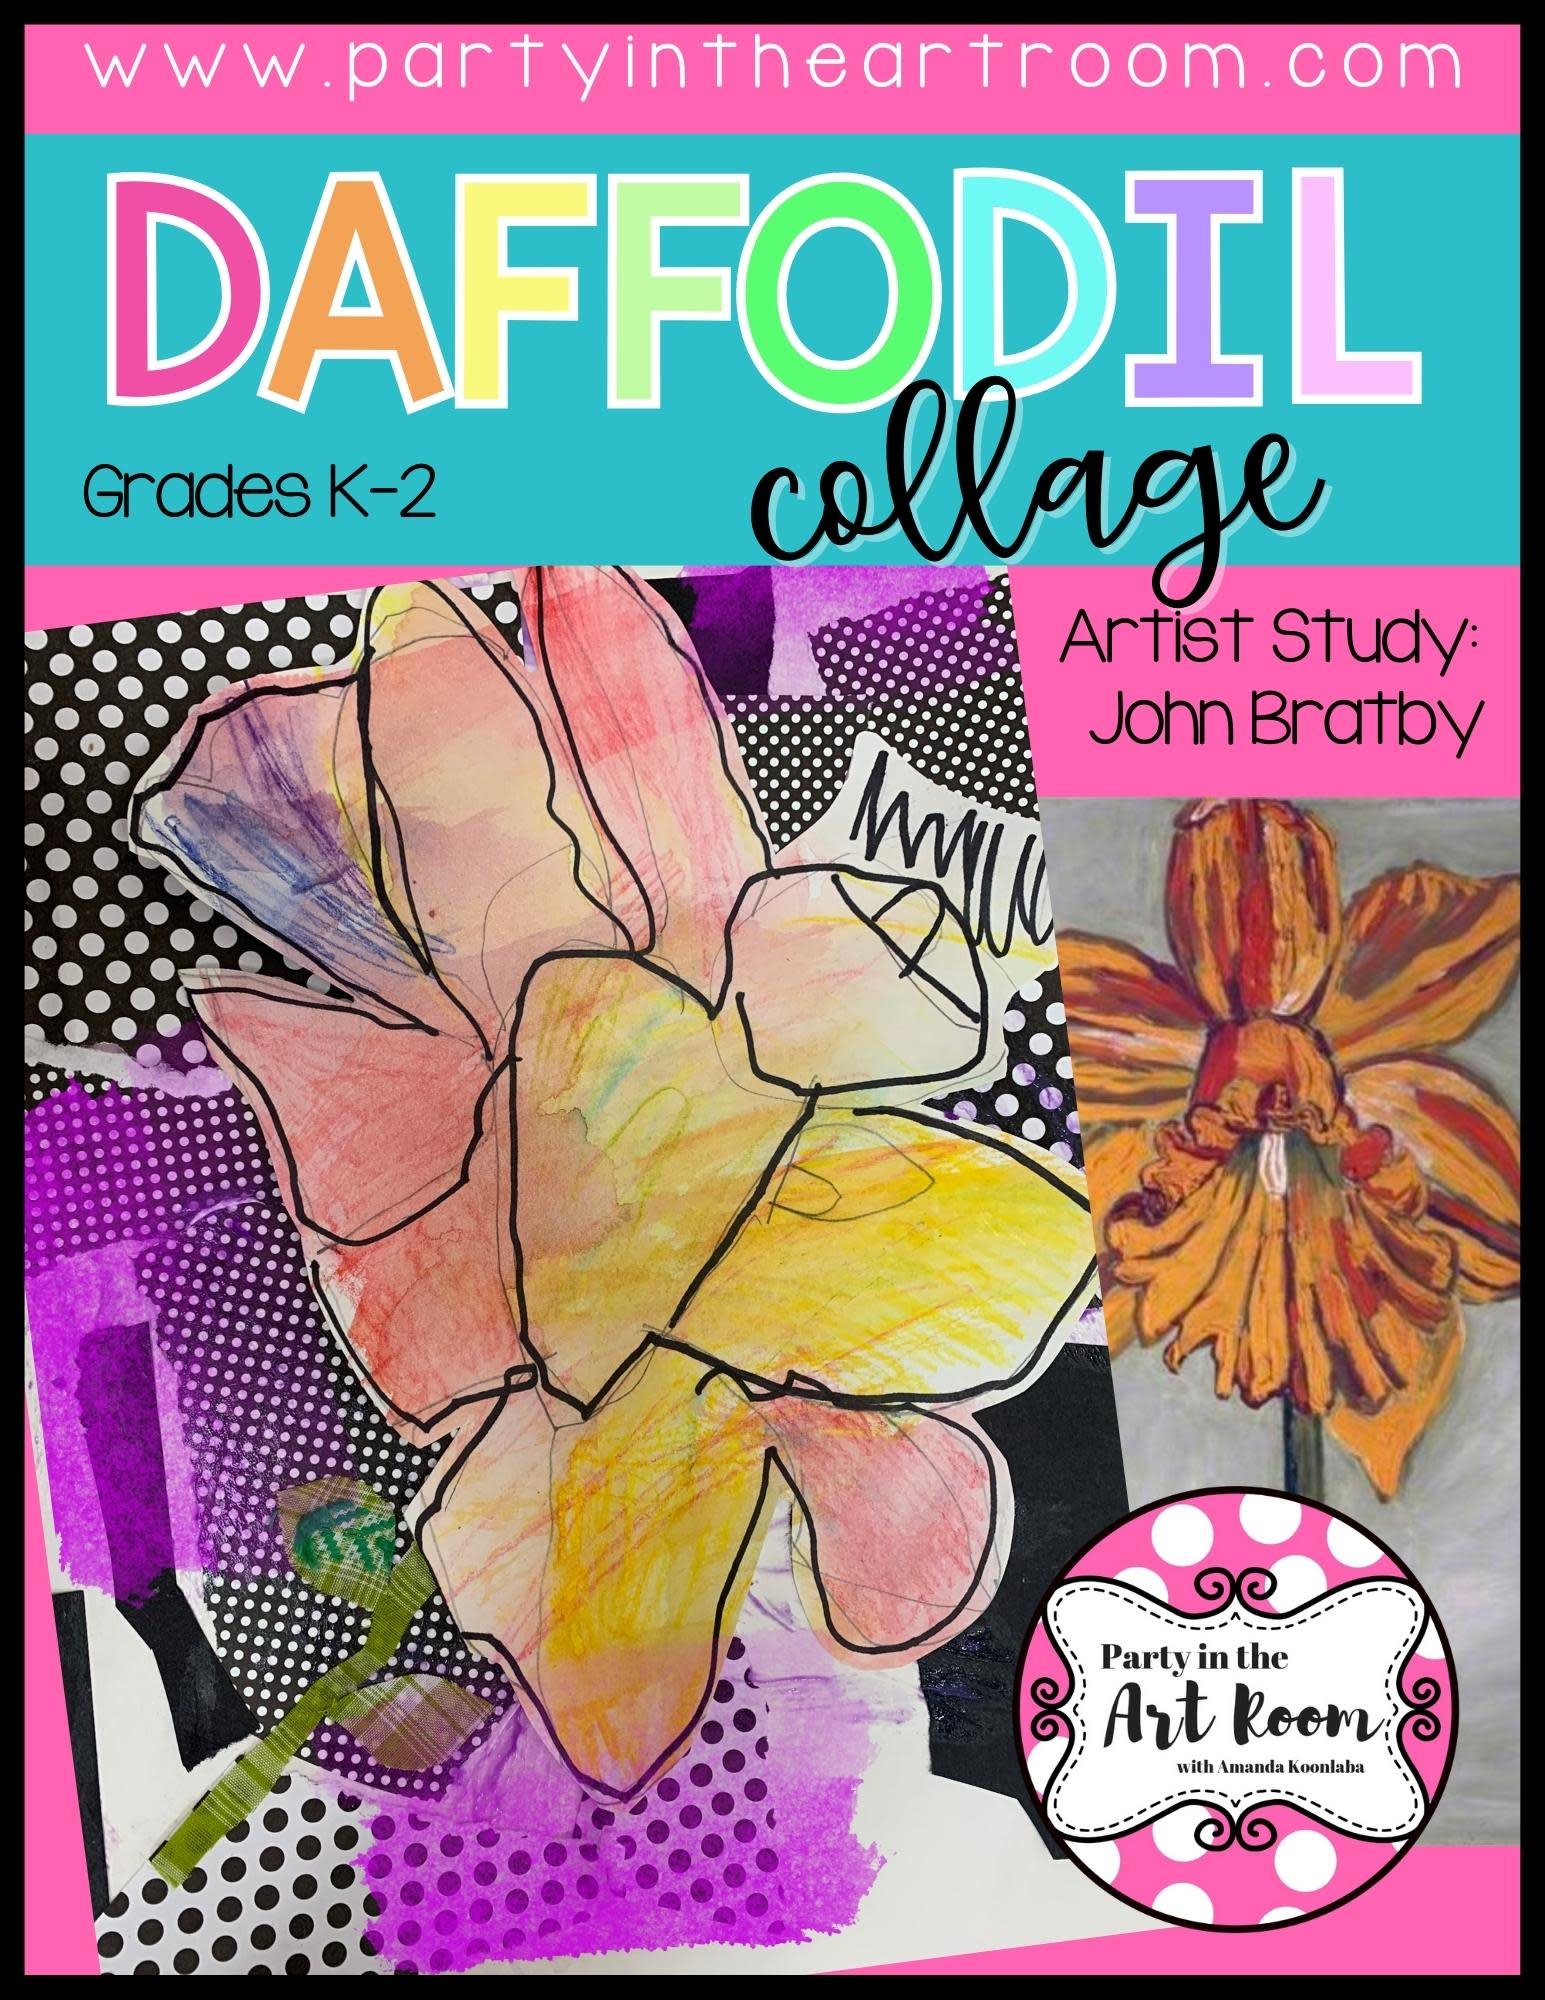
I want all students to feel successful in the art room, so I created a standards-based Daffodil Collage lesson to do just that! The lesson includes an artist study, student reflection, and more, so push your artists to their full potential.
Follow along on my Instagram page for more tips on teaching the Whole Child in the art room!
Connecting art and content together doesn’t have to be mind-boggling. I’ve made it simple with 25 math and ELA art lesson starters - for free! Plus, I included 15 worksheets for students to reflect on their art-making journey.


