This Is The Most Beautiful Fall Trees Painting Project For Elementary
Fall is the perfect time to get inspired. The vibrant colors of changing leaves on fall trees provide a great opportunity for young artists to explore bright paint colors in their art projects. A fall art project not only allows elementary students to make bright and beautiful art but also allows them to learn about and observe the changing world around them.
Here are the most beautiful fall painting ideas that you can use in your classroom or at home.
Create a breathtaking autumn scene with these easy steps for young artists! 🍂🖌️
Fall Tree Painting Project
The Fall tree painting project lets elementary students paint what they see with vibrant and exciting colors. This project can be done by individual students, in small groups, or as a full-class project. Students will be able to learn different basic art skills like painting, cutting, and gluing to make a beautiful mosaic of a vibrant fall tree.
Looking for a pumpkin art lesson? Check out these pop art collaborative pumpkins.
Here’s what you will need to bring this beautiful fall tree painting art project to life.
Elementary students will love capturing the magic of fall with this project! 🍂✨
Materials:
White Tagboard
Tempera Paints – Gray, Yellow, Red, Brown, Orange, and Green
Black Oil Pastels
Scissors
Glue
Nothing says fall like these gorgeous painted trees, perfect for any classroom! 🎨🍁
Step one – Create your Background
You will need to prepare one full-size sheet of white tagboard for your background by painting it completely gray with tempera paint. This background can be prepped before students arrive or can be done as part of the project. This background will serve as a neutral foundation for those fall colors to pop.
Step Two – Students Paint those Beautiful Fall Colors
The next step is to begin preparing the materials to be used as the foundation for your fall trees. Give each student a half sheet of white tagboard. Each student will choose their favorite fall color and paint their half sheet of tagboard completely. Be sure to have students paint with vibrant colors and cover the whole tagboard.
Step Three – Let it All Dry
All of the paint that has been applied to the tagboards needs to dry completely. Students will be drawing directly on the painted area, so the paint must dry completely to reduce mess and ensure clean and crisp lines.
While materials dry it is a great time to have students research the patterns on different leaves. Have them choose their favorite and make note of all the lines and shapes that are naturally present on a leaf. For an even better hands-on experience, you can bring in actual leaves from local trees to have students both see and feel their patterns.
Students will love showcasing autumn's vibrant oranges, reds, and yellows with this fall art project.
Step Four – Draw Your Tree Shapes
On the vibrantly painted pieces of tagboard that you have prepared, have students start drawing their tree design with black oil pastels. Encourage students to model their tree shape after the shapes of real trees while adding their creativity to the design.
Step Five - Add Designs to Your Tree Shapes
Now that each student has the outline of their tree drawn on their painted piece of paper it is time to add unique designs to the inside of the tree. Start by modeling different lines and patterns that can be used as branches. After you have shown students a few examples, it is time for them to make their trees unique.
Have students draw their branches on the inside of their design with a black oil pastel. Encourage students to use lines and shapes found in nature in a way that makes their tree stand out.
Create a breathtaking autumn scene with these easy steps for young artists! 🍂🖌️
Step Six – Cut out Tree Shapes
Each student should have their unique tree design beautifully drawn onto their colored half piece of paper. Now, instruct students to cut their tree out with a pair of scissors. Make sure students are cutting on the line of their design to preserve their unique tree shape.
Step Seven – Adhere Your Trees on the Background with Glue
Now that you have all of your vibrant fall-colored tree shapes cut out it is time to arrange them on your background. Have students place their trees in the background in a place that fills up empty negative space without covering too much of the other trees. When you have your trees where you want them, adhere them to the background with glue.
Step Eight- Draw in Your Tree Trunks
The final step in creating your fall tree art project with elementary students is to draw in the tree trunks. Have each student draw in their trunk with a black oil pastel. Encourage them to add wood grain and other designs to add depth and texture to the project.
Capturing the essence of fall, one brushstroke at a time! 🎨🍂
You might be interested in:
MORE GREAT IDEAS:

Affiliate Disclosure: Party in the Art Room is supported by its audience. When you purchase through links on this site, a commission may be earned.
I’m Amanda, and I align standards and integrate content to help teachers meet the needs of the Whole Child in art class! I have yet to find a standard that I couldn’t teach through art, and I want to share it all with you.
Not sure where to start with bringing art and content together? This freebie guide is packed with 25 ideas to align your art lessons with math and ELA standards. Your students will be crafting art and practicing algebraic thinking. Win-win!
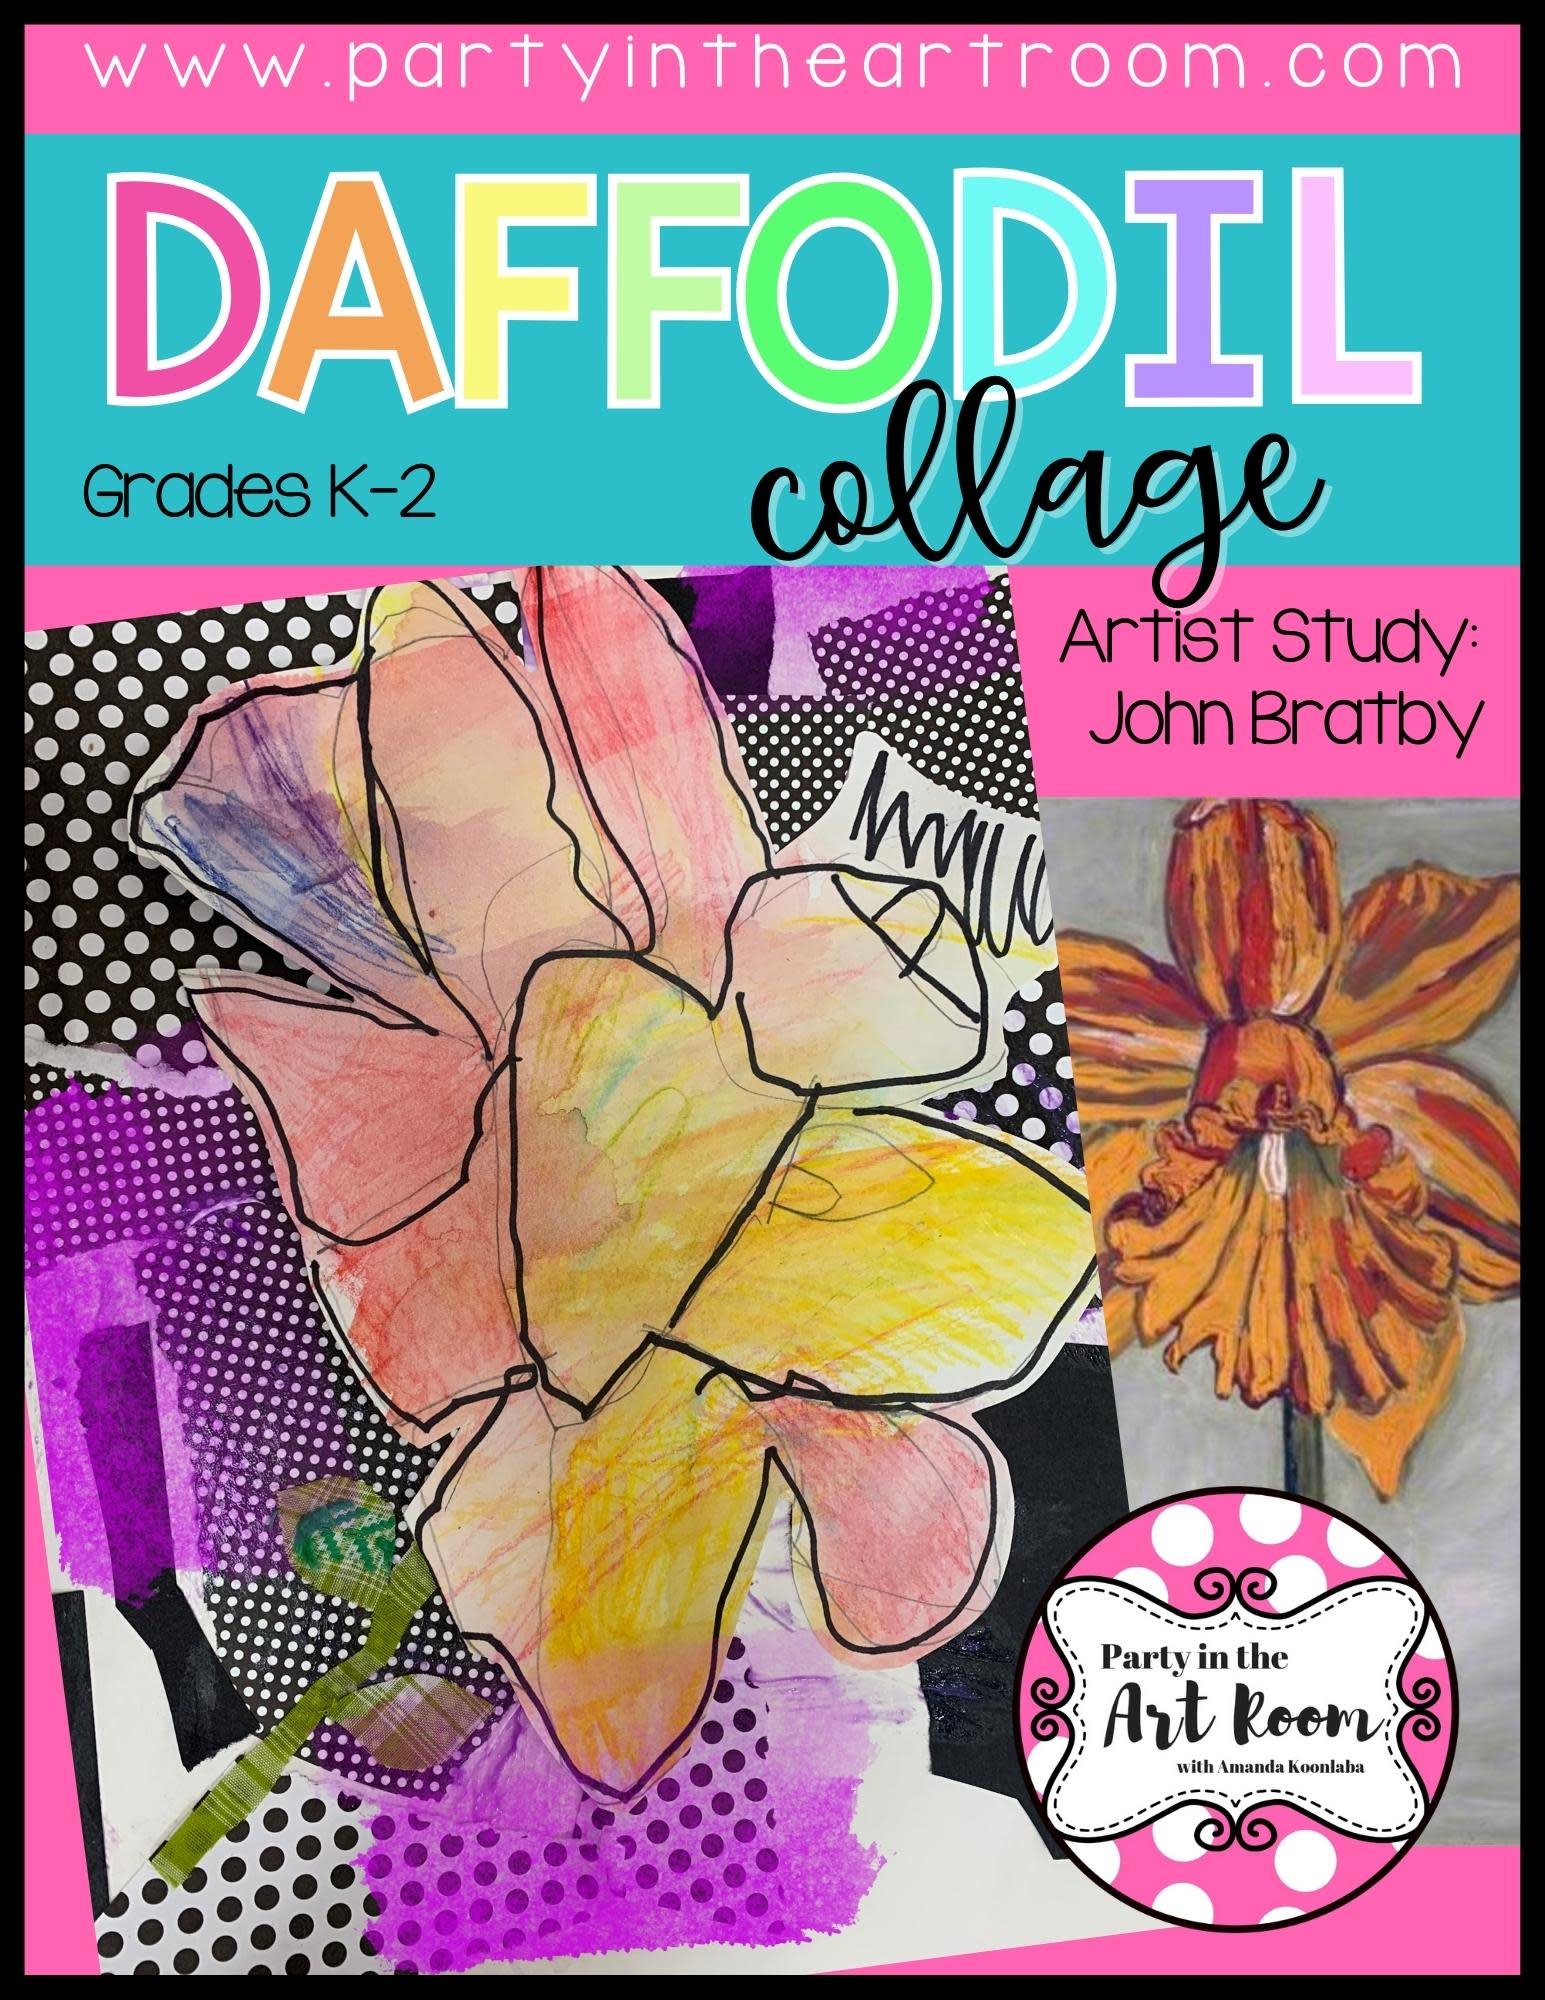
I want all students to feel successful in the art room, so I created a standards-based Daffodil Collage lesson to do just that! The lesson includes an artist study, student reflection, and more, so push your artists to their full potential.
Follow along on my Instagram page for more tips on teaching the Whole Child in the art room!
Connecting art and content together doesn’t have to be mind-boggling. I’ve made it simple with 25 math and ELA art lesson starters - for free! Plus, I included 15 worksheets for students to reflect on their art-making journey.


