How To Create Your Best Silly Snail Art
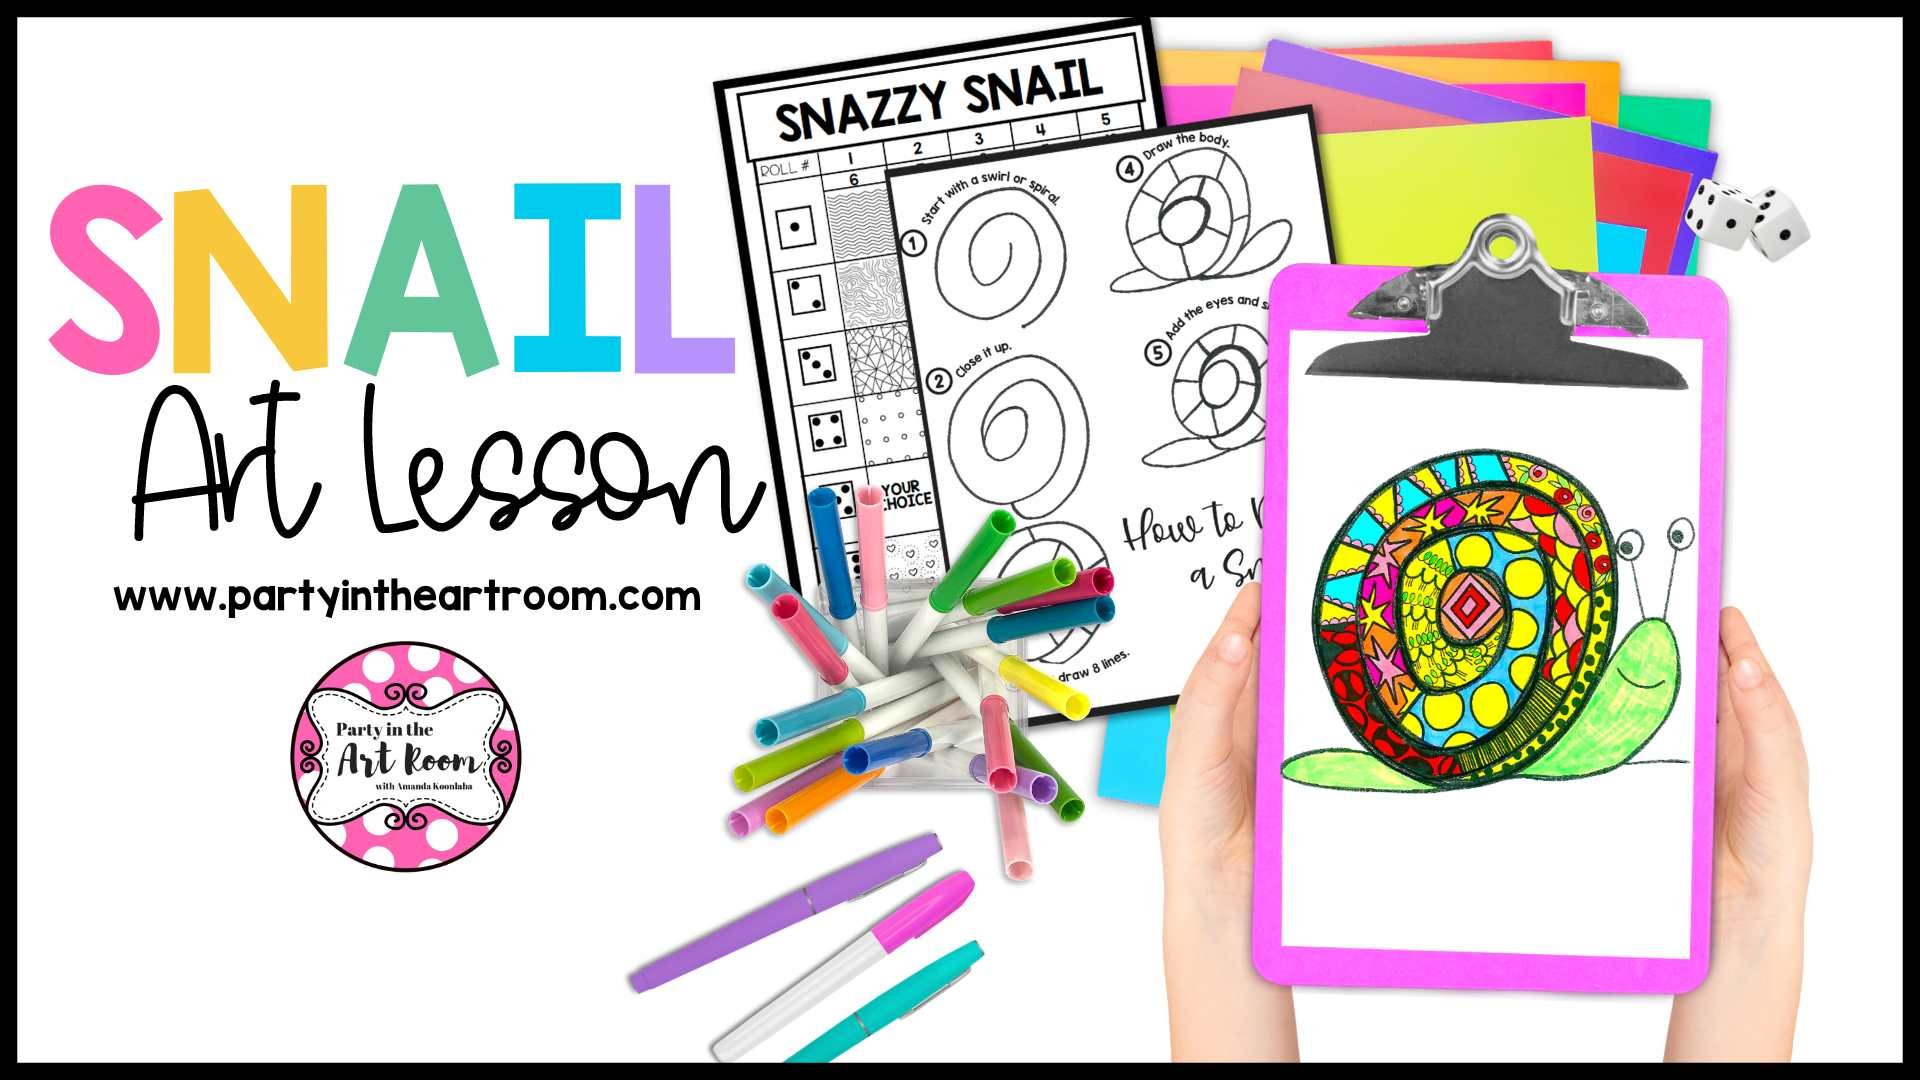
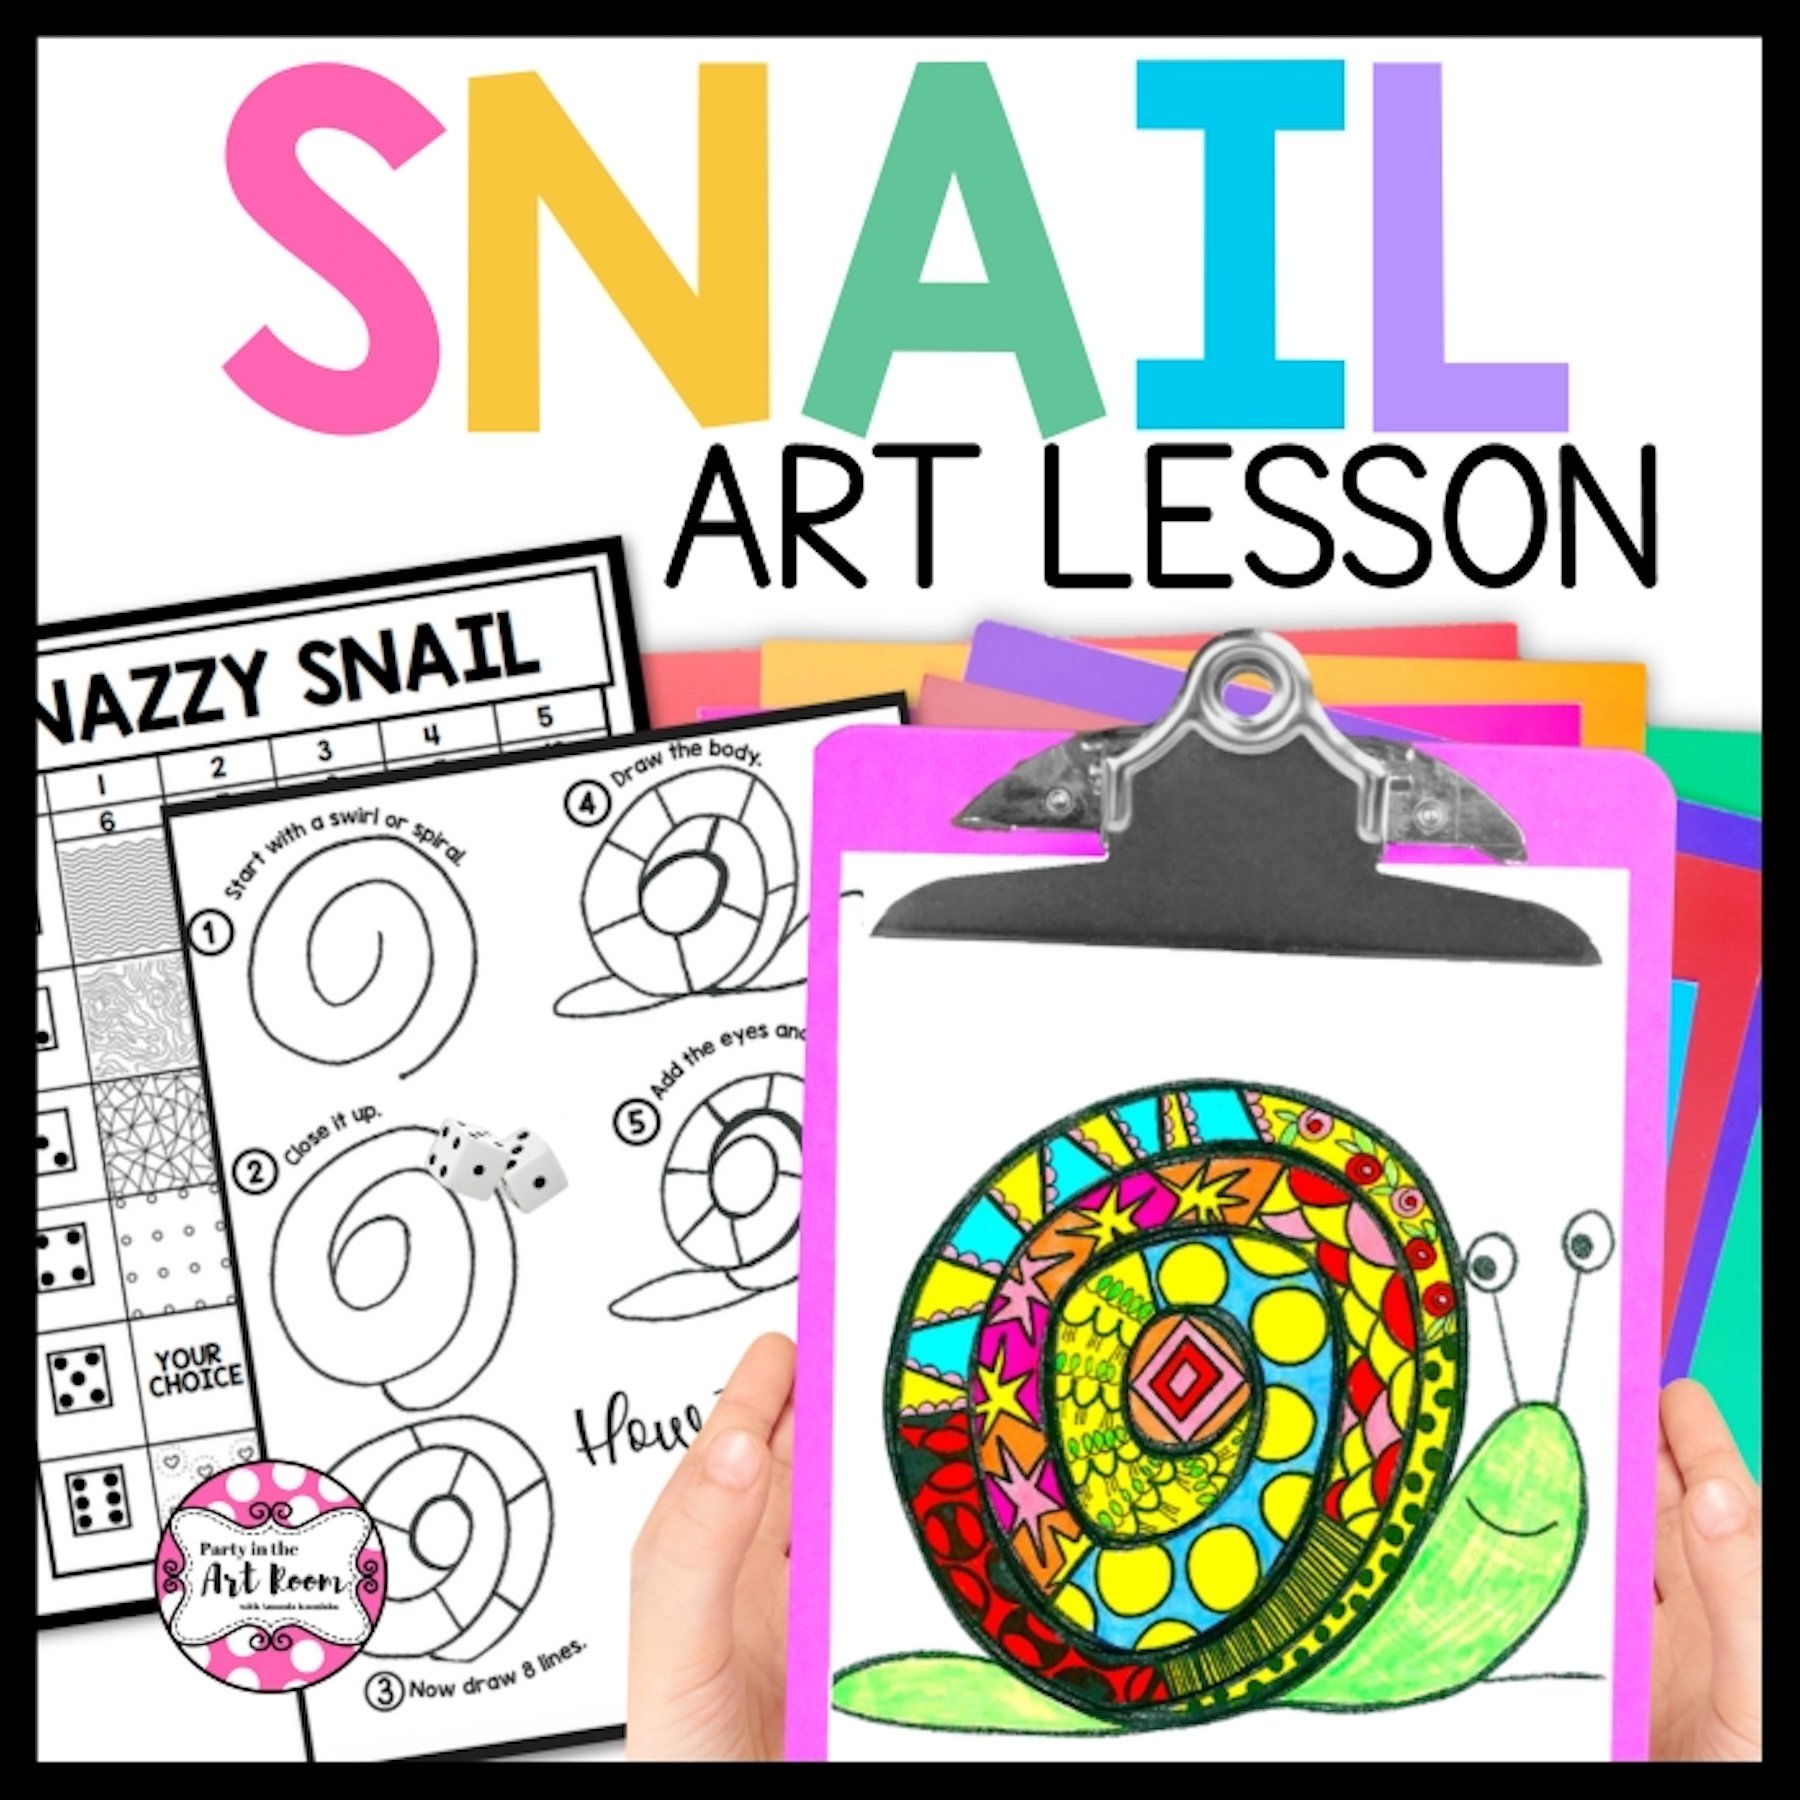
When the blossoms of spring unfurl their vibrant petals, ushering in a season of renewal and creativity, I’m always excited to dig into my art project spring and launch this Snazzy Snail Art project with my students.
This delightfully easy snail art project merges the beauty of spring with the whimsical charm of easy snail painting, offering an engaging outlet for self-expression and imaginative exploration. In this post, I’ll share the Snazzy Snail Art project and why it’s a personal favorite art project for spring.
It’s silly and fun and a perfect spring art lesson. Let’s dive in!
Benefits of This Snail Art Project
Before jumping into how to create this cool artwork, let’s talk about the benefits of the Snazzy Snail Art Project. We all know how creative children can be. But did you know that creativity is really important for their development? There are three main domains of development that art impacts making this art lesson pack a big punch:
Motor Skill Development. Whether the children or students are using pencils, crayons, or scissors - they are using small and gross motor skills. These skills help prepare children for other motor skills such as writing, fastening buttons, and tying shoes.
Self-Esteem. Completing this snail art project aids children in mastering skills that lead to feelings of accomplishment and perseverance.
Memory and Processing. Exposing your children and students to art increases their visual-spatial skills, executive function, and self-control. Creative play and activities are a key way of developing these important skills. This silly snail art project checks all those fun boxes.
How to Create Your Own Snail Spring Art Project
Now that you are familiar with how this spring art project, and others, can enhance the overall development of children, it’s time to have them create their own snazzy snail art.
Materials
For this piece of artwork, all you’ll need are the following supplies:
Paper (any kind)
Something to draw with (pen, pencil, marker)
Something to color with (markers, crayons, paint)
Watercolor pencils or tempera paint (optional)
Steps
Follow these simple steps to create your own special snazzy snail:
Step 1: Make a spiral
Start with a small dot in the middle of your paper. Come out from that dot, making about three circles in a spiral motion. Finish the shell for your snail by bringing the line down and connecting it at the bottom.
Step 2: Divide the shell into sections
Next, divide the shell into sections. Go back to the dot in the middle and use it to make a circle.Then, draw four more lines anywhere within the shell. After you have drawn your lines, make a head for the snail. It’s a mix between a circle and oblong oval.
Create a similar, but smaller, one for the tail. Make sure both touch the bottom of the shell.
Give the snail some eyes by drawing two straight lines on top of the head with a circle and dot (for the actual eyes). Don’t forget to add a smile!
Step 3: Draw patterns
Now it’s time to draw a different pattern in each of the sections you created in your snail’s shell. Below are a few pattern designs to try:
Hearts
Lines/stripes
Polkadots
Dollar signs
Letters (like your initials)
You can make a pattern out of anything. Simply choose something you love and draw it repeatedly inside the section. This post about patterns for artwork and using a patterning anchor chart will be helpful here.
Step 4: Add color
Now, it’s time to get creative and add color using whatever supplies you choose. Feel free to use coloring pencils, crayons, markers, or whatever you have on hand. Get really creative by using different color combinations within each section.
If you want to branch out with the media you let your students use for this lesson, I highly recommend using watercolor pencils. You can find all my best tips and tricks for doing that here.
I also recommend tempera paint, but make sure you know the difference between tempera paint versus acrylic paint for this one. Here’s a guide to help you.
Video Tutorial
This video covers the basics of drawing your own adorable snail art project, there's so much more to explore in the complete Snazzy Snail Art lesson plan!
Help your students dive deeper into their learning through this full snail art lesson. They’ll tap into levels of creativity you’ll be so proud of! It comes complete with step-by-step instructions, additional pattern ideas, dice roll game sheets, templates, writing and reflection activities, coloring pages, and other cross-curricular activities. There's something for every learner to enjoy.
Final Ideas for the Snail Art Project
That’s it! Your child or students (and maybe even yourself) have just created your own snail spring art project. Don’t forget to name your super silly snazzy snail and hang the picture up for others to see.
And, remember, you can get a done-for-you version of this snazzy snail art lesson for your class - they love this! It’s really fun.
This spring art project is great for substitutes, early finishers, or even just a day when you need a ready-to-go art project. Many homeschool families also enjoy using this lesson.
Free 12-Page Symmetry Art Worksheets
Here’s a comprehensive resource designed to help you ignite your students' creativity while enhancing their math skills. Sign up now to receive this amazing freebie—a set of 12 captivating worksheets that will engage your students in the exploration of symmetry through artistic drawing.


